
The subject of mounting surface mount compoments comes up every so often. I mounted a couple for a pre-amp. documented the process so I will not forget how I did it.

This is double sided board that can be cut with a pair of scissors. You could just cut some squares and position them very close together. I wanted to try spacing them out a bit.
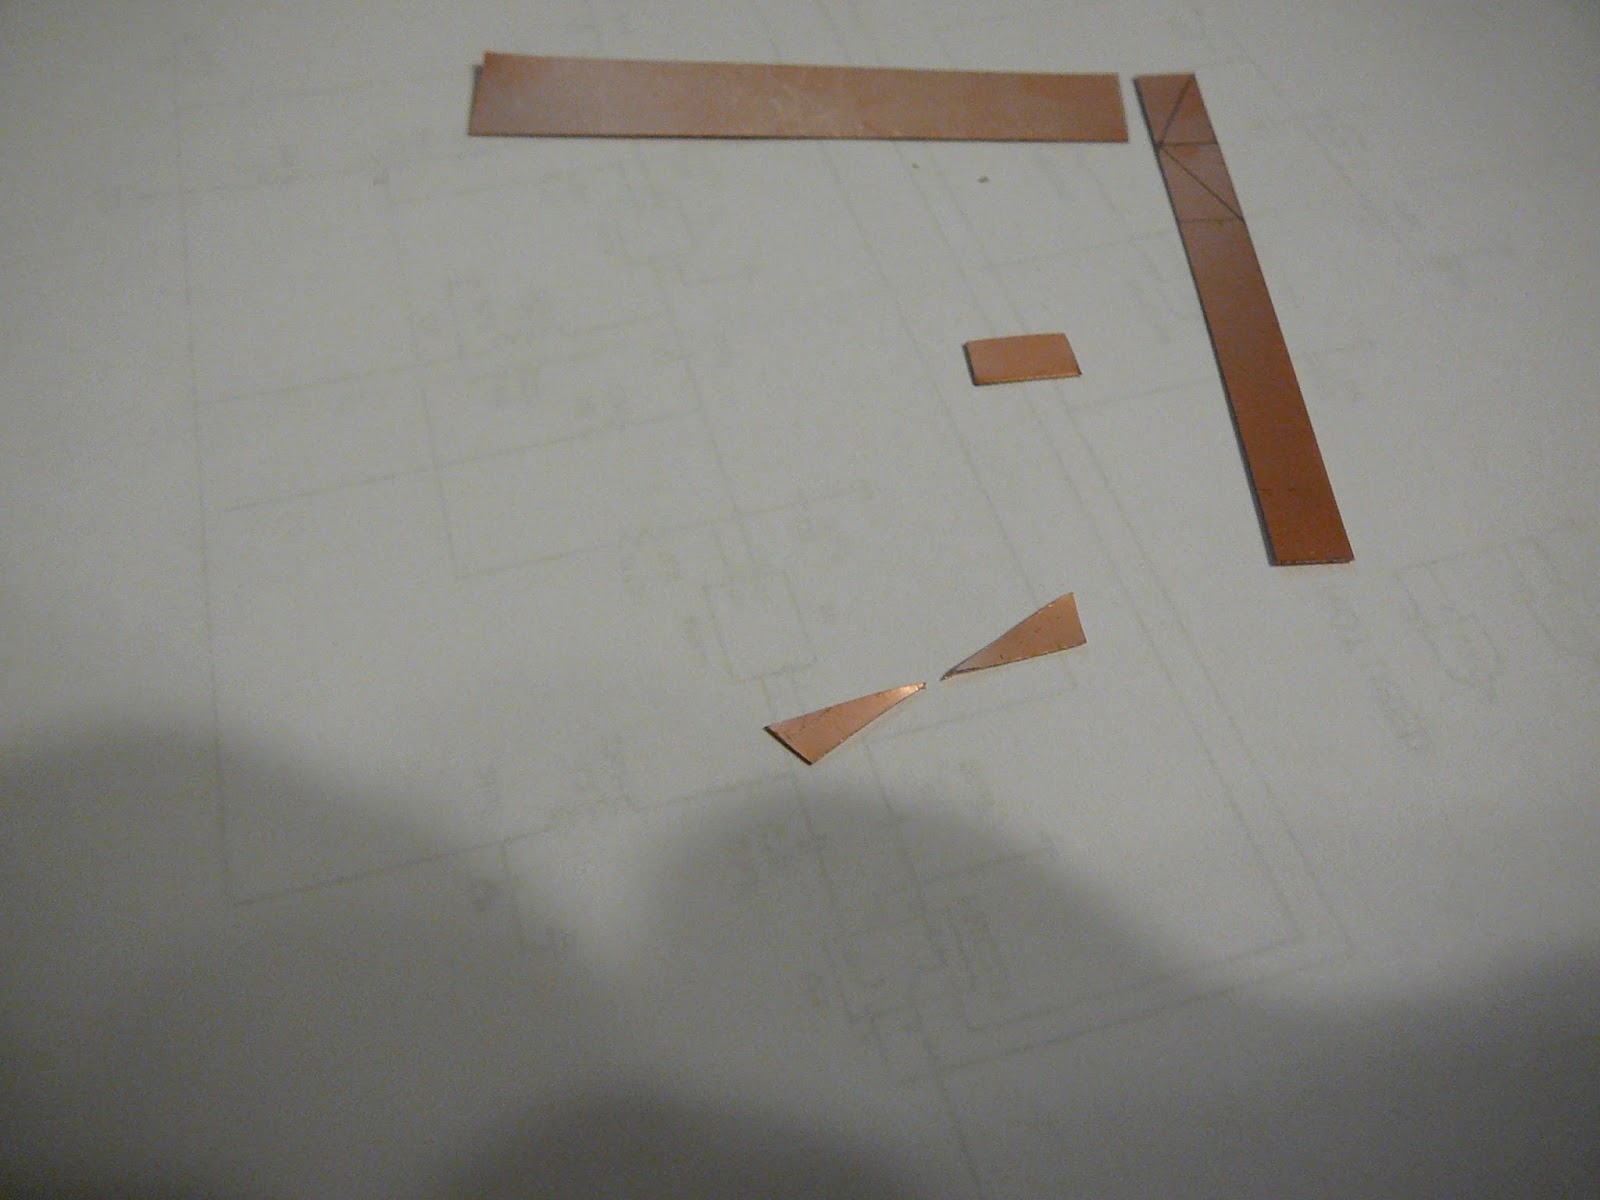
I cut a couple of rectangles and then cut them on a diagonal. The long points should be easy to position without crowding the pieces.

A little glue and this is what I got.

I soldered the parts on the board.

I drilled a hole in each triangle.

with pins in place i'm ready to mount the resistors.

I soldered the pins to the board. They help keep everything in place and it could make a bad joint to the board with wires in place?

I will not bore you with a component by component installation.I put 5 volts amp. My scope on the output was showing noise. When I put my hand close to the input the noise would jump up. I put an earphone on the output and heard nothing.This is good. If it was oscillating it would make some squeal or howl. I put a diode across the earphone and hear the sound of a receiver between stations. Several signals at once.
This amp is as simple as it gets. I used 2 100K resistors to set 1/2 Vdd on G2 through a 10K resistor. I applied Vdd to G1 through a 10K resistor. A 50uh inductor applies Vdd to the drain. Ground the source. DC biasing is done. I put a 1nfarad cap on the input, output, and interstage coupling. I put a 1nfarad cap from G2 to ground. and it is done.
You could us the idea of the triangles and glue them on a copper clad board to do a Manhatten style board.
The spacing of the parts match the hole pattern of a prototype board so you could solder them on a proto board or use the proto board to mark the layout.
This was just intended as food for thought. This might be a better method but requires more material. The two could be used and do a Manhatten build with three layers.
The three layer board
No comments:
Post a Comment